Export & Import Content
This article provides steps on how to export and import your Beaver Builder content, such as templates, saved rows, columns, and modules, to your other websites. You can achieve this by using either the WordPress Import & Export Tools or the Assistant plugin and cloud service.
WordPress Import & Export Tools
Using the WordPress Import and Export Tools, you can export your Beaver Builder content, including templates, saved rows, columns, and modules, and import them into another website.
You can choose to export individual templates, rows, columns, or modules, or the entire set altogether. This feature lets you create a group of templates on one WordPress install or staging area, and then effortlessly move them to other locations or bundle them for different purposes, such as migration, resale, or distribution.

Export Content
To export custom templates, saved rows, columns, and modules.
Access your site's WordPress Admin Dashboard.
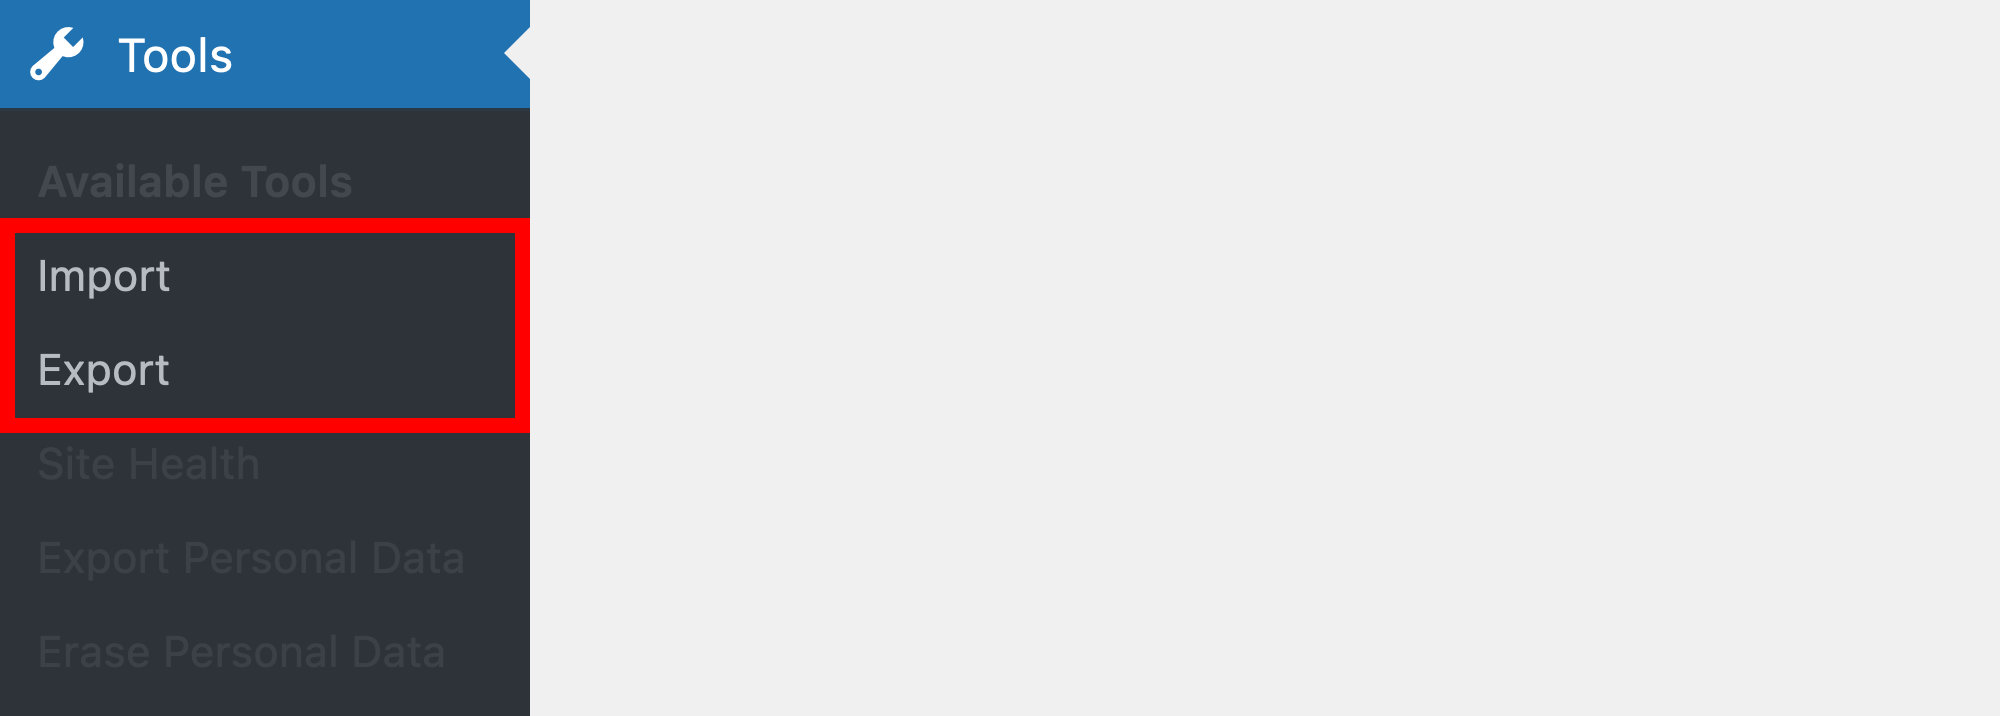
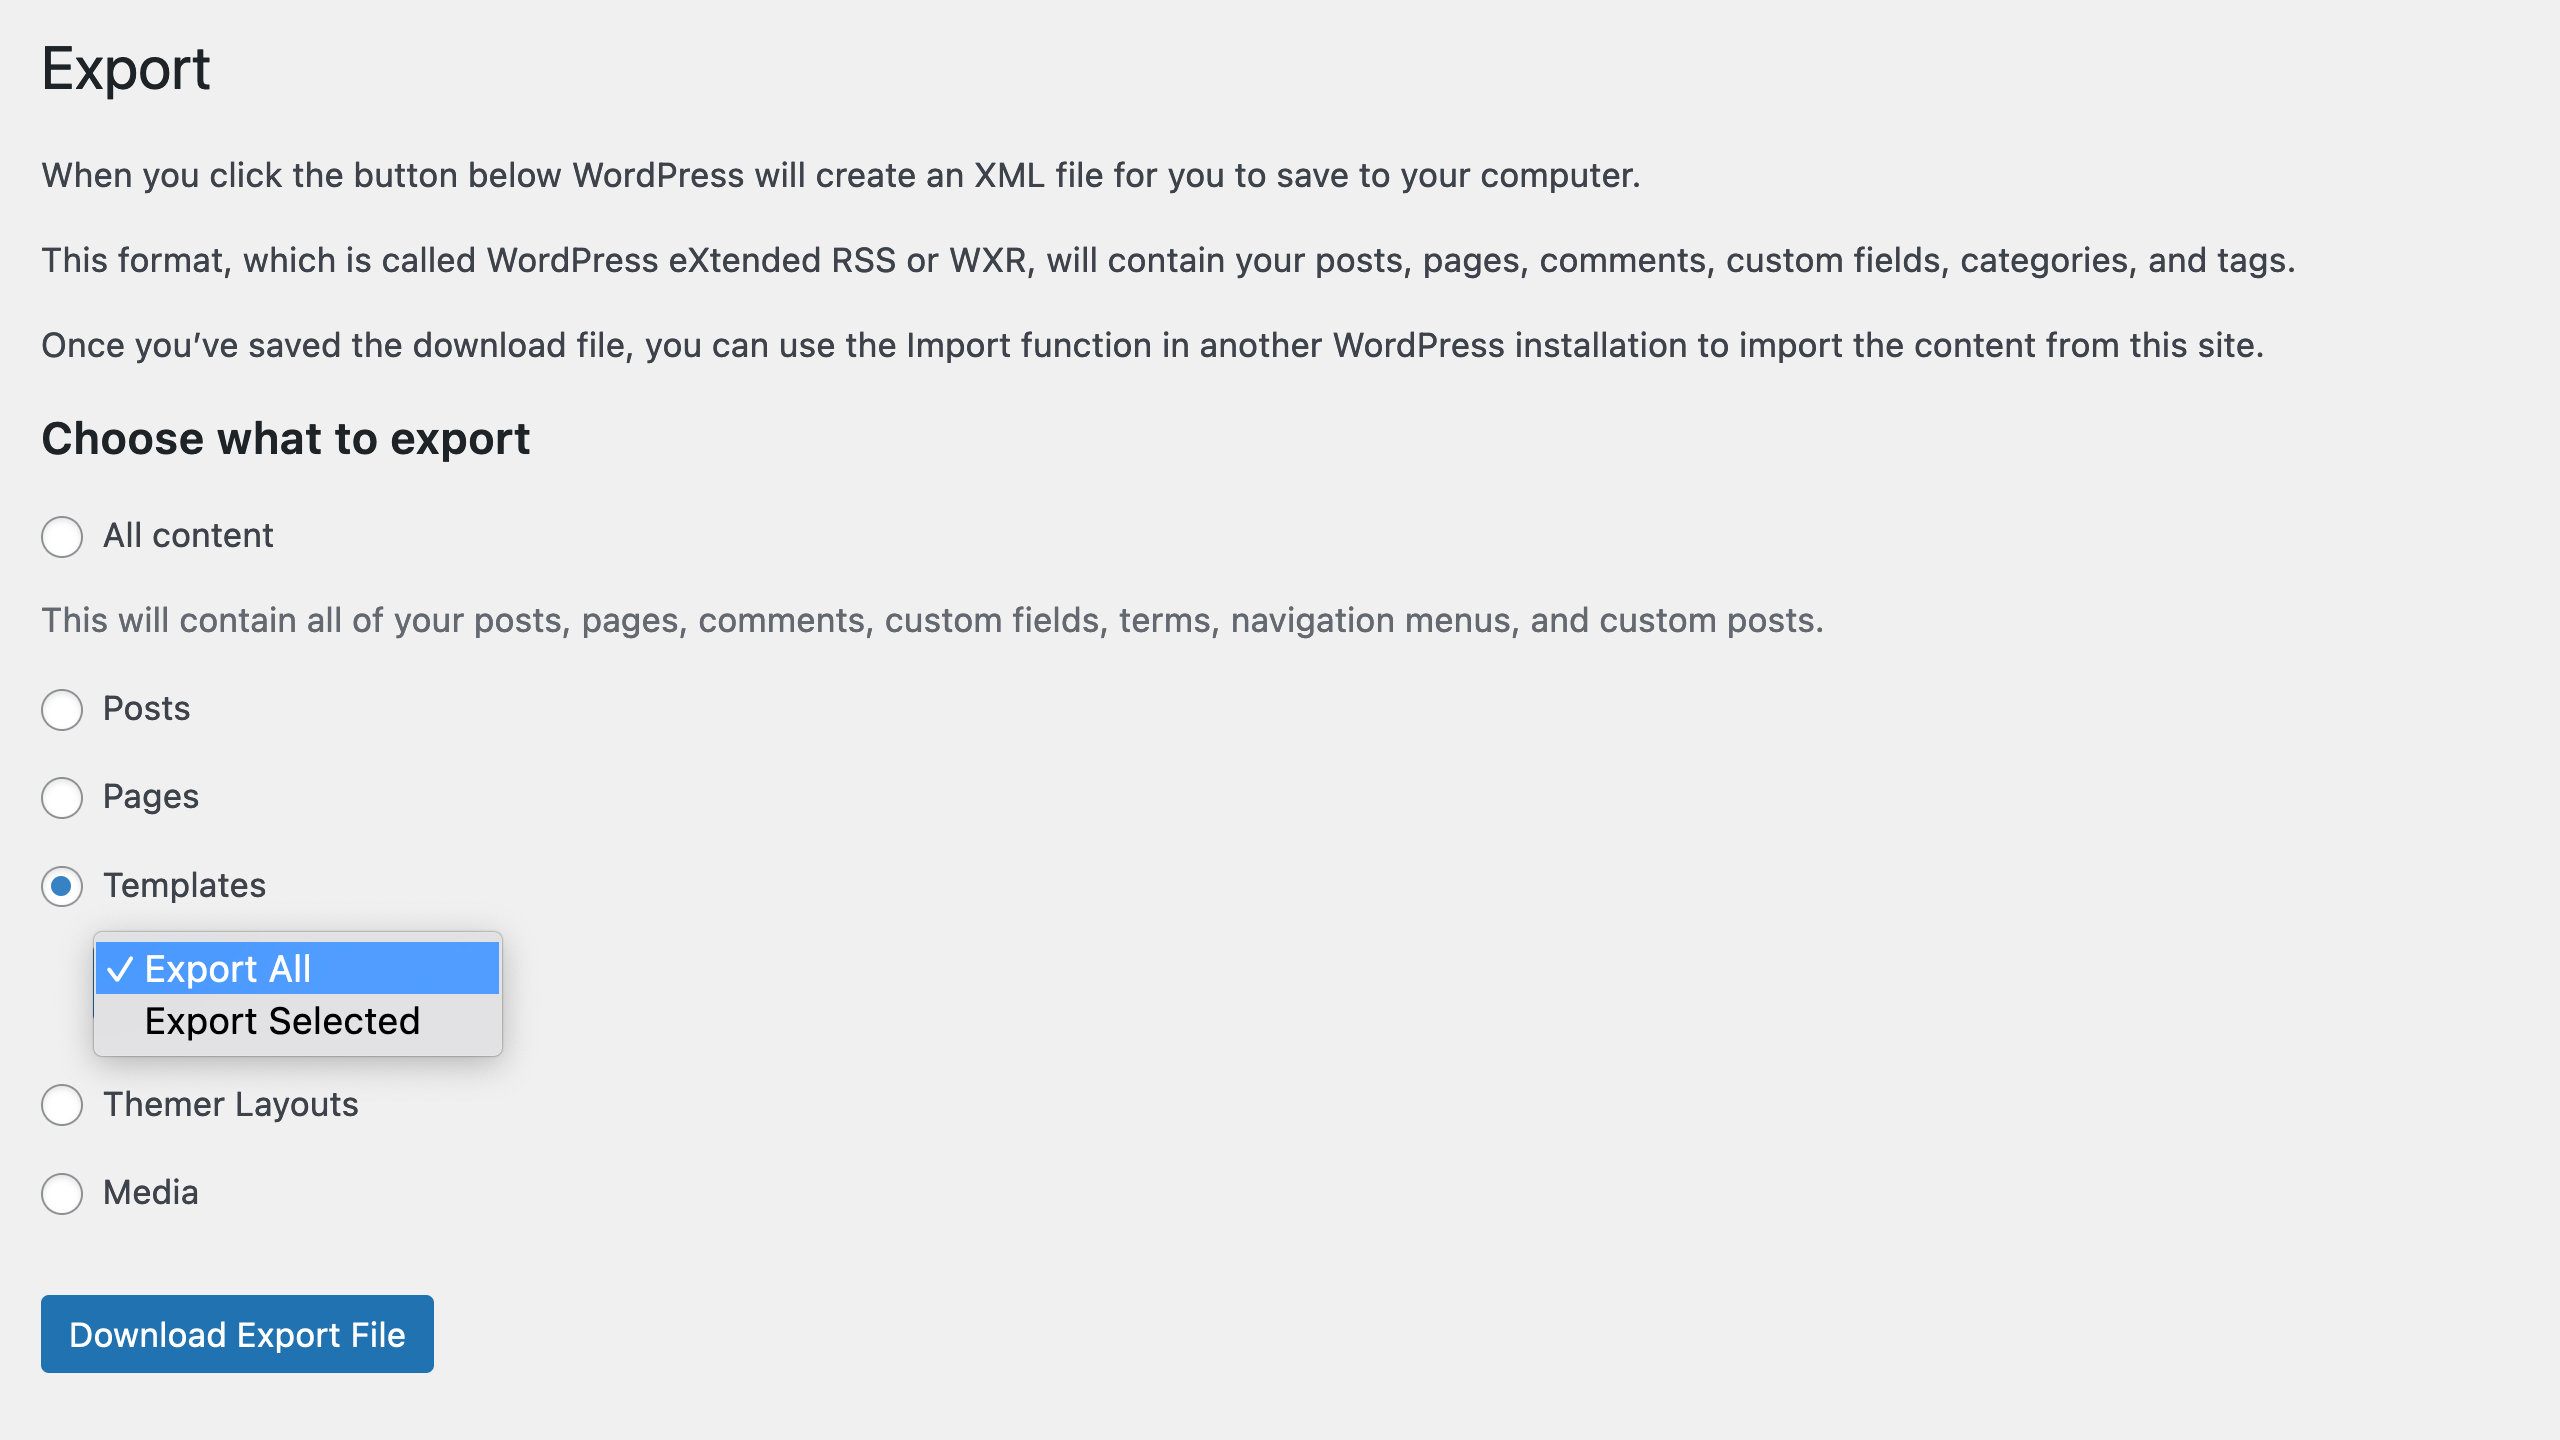
Navigate to Tools > Export.
Select Templates, then choose Export All or Export Selected.
- Export All - All Beaver Builder saved content (templates, rows, columns, and modules) will be exported.
- Export Selected - Lets you choose the templates, saved rows, columns, and modules you want to export.
Click Download Export File. The downloaded file is an
.xmlfile that you can use for any WordPress website containing a premium version of the Beaver Builder plugin.

You can learn more from the WordPress Export doc.
Import Content
To import custom templates, saved rows, columns, and modules.
Access your site's WordPress Admin Dashboard.
Navigate to Tools > Import.
Scroll down to WordPress, and click Run Importer. If this is your first time importing, the link in the WordPress section says Install Now. After you click to install the importer, click the Run importer link that replaces it.
On the WordPress Importer page, select the
.xmlfile that you exported, then click Upload file and import.You can choose either to import the user who owns the page or post or to assign an existing user on the site to which you're importing.
You can learn more from the WordPress Import doc.
Tips
Global content If you export a post or page that contains a global row, column, or module, it's a good idea to export the saved row, column, or module as well. That way, when you import the post or page, the global rows, columns, and modules can be relinked to the master template on the new site.
Images & icons Images and icon sets used by the templates, rows, columns, or modules you're exporting are not migrated with the template. You'll have to add them to the new location after import. Likewise, the theme at the new site will control the default font families, colors, and so on.
Links Links are not updated automatically in the imported template.
Migration If you're migrating an entire website from one domain to another (for example, you're migrating a development site to production), we recommend either using a migration plugin or following our instructions to migrate a site to another domain instead of moving templates.
Assistant
If the WordPress Import and Export tools are not your preferred option, you can utilize Assistant instead. With Assistant, you can store and organize all your templates in a secure location, which makes importing them into your other websites a breeze.
See the Assistant Libraries and Import articles for more information.