Open a gallery lightbox on button click
The Button module has a built-in lightbox feature, but if you put in the shortcode for a gallery, the entire gallery will display in the lightbox, rather than the individual gallery images.
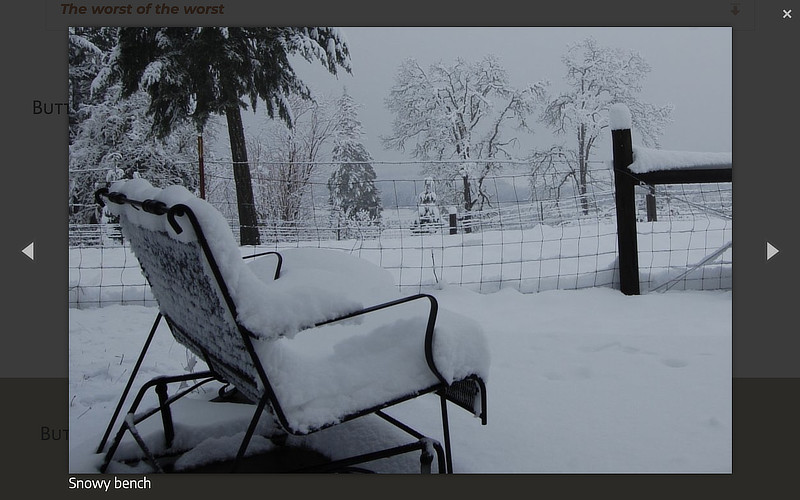
You can configure the button click to display the individual gallery images in the lightbox, with previous and next navigation, as shown in this screenshot:

The instructions here will show you how to create a Button module an a Gallery module, add custom IDs, and copy in some jQuery to make it all work.
1. Create a Button module
Create your button and give it a custom ID also, using these instructions.
- Drag a Button module into your layout.
Leave the Click Action set to Link but don't add a link.
The link will be set by the jQuery. - On the Advanced tab in the HTML element section, enter an ID for your button in the ID field.
In this example, we'll usegallery-1-buttonas the ID value. - Enter any other style settings you want for the button and save the module.
2. Create a Gallery module
Create your gallery and give it a custom ID using these instructions.
- Add a Gallery module to your layout.
Placing the gallery in a row under the button is a good place. The jQuery will keep the gallery from being displayed on your main page. - Add photos to the Gallery module in the normal fashion.
- On the General tab, set Click action to Lightbox and select the size of image you want to display in the lightbox.
- On the Advanced tab, in the HTML element section, enter an ID for your gallery in the ID field.
In this example, we'll usegallery-1as the ID value, - Save the module.
3. Add the jQuery code
Add the jQuery code using the following instructions.
In the Beaver Builder editor, click the down arrow in the Title bar in the upper left corner to open the Tools menu, then choose Layout CSS & JavaScript.
Click the JavaScript tab, then paste in the following code.
jQuery(document).ready(function ($) {
  var galleryid = "#gallery-1"; //Gallery ID
  var buttonid = "#gallery-1-button"; //Button ID

  if ("undefined" !== typeof FLBuilderConfig) {
    return;
  }

  jQuery(galleryid + " .fl-photo-img").hide();

  jQuery(buttonid).on("click", function (e) {
    e.preventDefault();
    $(galleryid + " img")
      .first()
      .trigger("click");
  });
});
Change lines 2 and 3 to the ID values that you assigned to the Gallery module and the Button module respectively.
Click Save to save the code.
Publish the page. Hold down the Shift key and click the Refresh icon to clear your browser cache, then test your button.
If you're using more than one button and gallery lightbox on the same page, duplicate this jQuery code and change the ID values to match each button and gallery.